First off, thanks to Tim for finding the instructions and secondly, thanks to Todd Owyoung of iShootShows for taking the time to make the instructions in the first place.
Link to directions can be found here: http://www.ishootshows.com/2010/02/09/music-photographers-diy-beauty-dish/ .
We found all the parts we needed at a local restaurant supply store, all the nuts, bolts, paint, etc. came from the blue home store.
It didn't take too long and unfortunately not nearly enough beer was consumed but we had the dishes built and assembled.


More after the jump
 |
| Here was the first test of the unpainted version. I could almost quit at this point...not even painted and the light is looking great. |
 |
| A few more tests |
 |
I
really like this shot. We moved out into the street just under a
street lamp and I love the color combo along with the car approaching in
the background.
|
 |
Here are the assembled images the next morning...I've started the paint prep by doing a little sand work all the way around.
|
 |

 |
| The black tubing you see there is actually the stuff that goes on the edge of your car doors to keep from chipping the paint. We found ours at Pep Boys auto for around $4.00. A quick search on the all knowing Google (searching door edge protector) gets you: Door edge protector |
 |
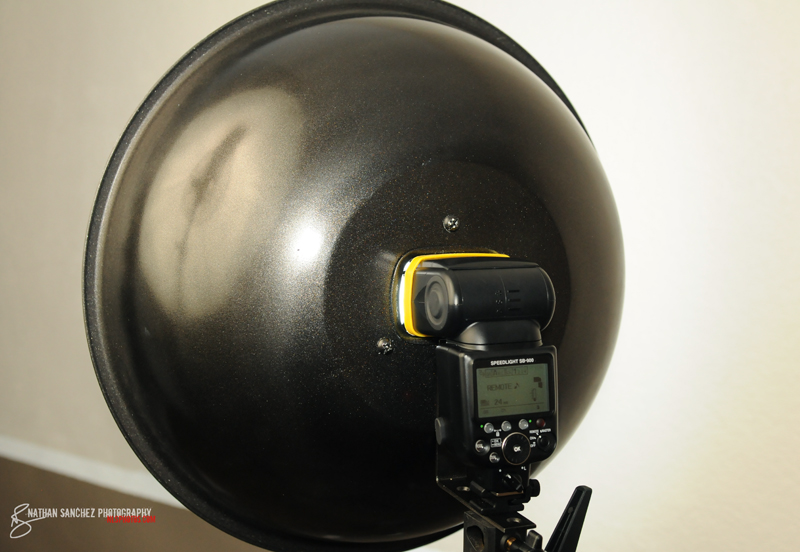
| We are working on our office so it's a great place to take test shots as the whole room is empty. Here is what the light quality looks like at 1/128 from a Nikon SB-900 |

 |
| I initially wanted to paint the outside a bright red but decided to play it safe and go with black, but metallic black at least. I wanted something other than plain old flatness and I thought that I might get color cast when doing some indoor stuff... |


 |
| The white is a flat white which I would like think helps to make the light a little softer but what do I know. |


 |
| Here's the first real test with the painted version |
 |
| These girls don't really need special lighting to look great but I am loving this new mod! |
 |
| The bluest eyes in Texas! |
No comments:
Post a Comment